javascript-projects
Task 19: Age Calculator
Description
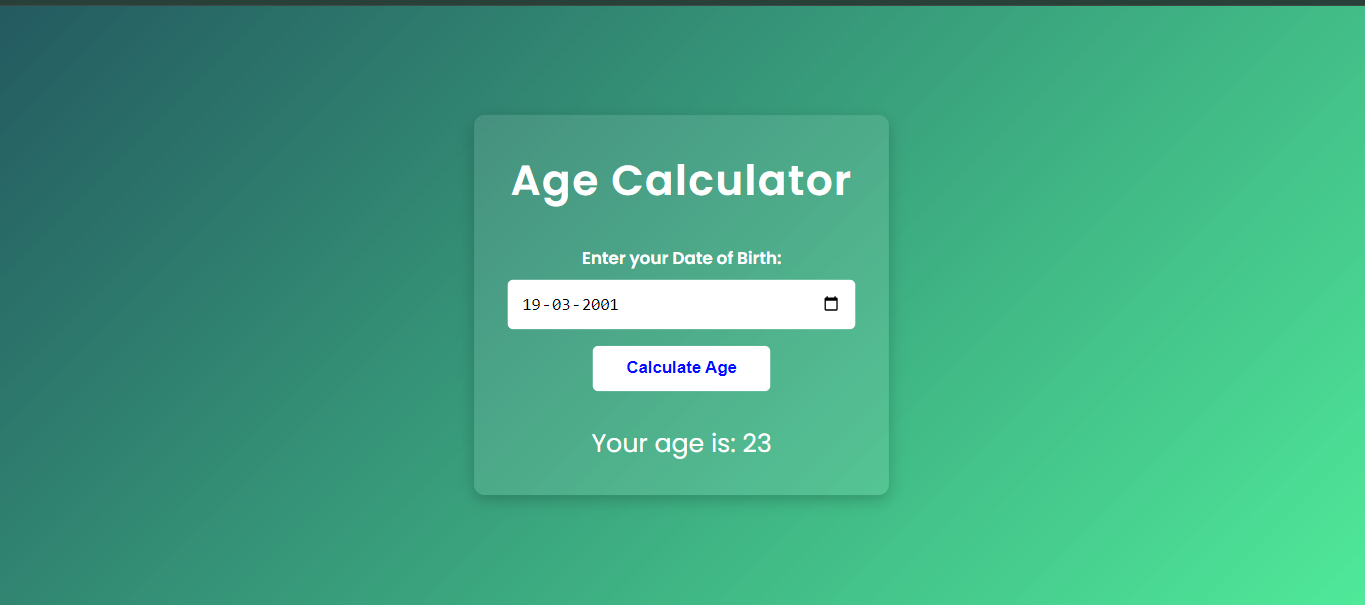
The Age Calculator is a simple web application that allows users to calculate their age based on their date of birth. This project helps students understand the basics of HTML, CSS, and JavaScript, including working with forms, handling user input, and performing date calculations.
Screenshots of the Project
Objectives
- To practice creating and structuring an HTML document.
- To apply CSS for styling the web page.
- To use JavaScript for manipulating the DOM and performing calculations.
- To understand how to work with dates in JavaScript.
Technologies Used
- HTML
- CSS
- JavaScript
Getting Started
Follow these instructions to set up the project on your local machine.
Prerequisites
- A code editor (e.g., Visual Studio Code)
- A web browser (e.g., Google Chrome)
Installation
Fork this repository by clicking on the fork button on the top of this page. This will create a copy of this repository in your account. And then follow these steps:
- Clone the repository to your local machine:
git clone https://github.com/yourusername/javascript-projects.git - Navigate to the project directory:
cd age-calculator
Project Structure
The project files and directories are organized as follows:
age-calculator/
│
├── index.html       # The main HTML file
├── style.css        # The CSS file for styling
└── src.js           # The JavaScript file for functionality
Usage
- Open
index.htmlin your web browser. - Enter your date of birth in the provided input field.
- Click the “Calculate Age” button to see your age displayed.
Code Explanation
HTML
- The HTML file (
index.html) contains the basic structure of the web page, including the form for inputting the date of birth and the section for displaying the calculated age.
CSS
- The CSS file (
style.css) styles the web page, including the container, form, and result display.
JavaScript
- The JavaScript file (
src.js) contains the logic for calculating the age based on the user’s input and updating the DOM to display the result.
Detailed Steps
HTML (index.html)
- Create a basic HTML structure with a
<!DOCTYPE html>declaration. - Add a
metatag for character set and viewport settings. - Include a
titletag to set the page title. - Link the CSS file using the
linktag. - Create a
divcontainer for the main content. - Inside the container, add an
h1tag for the title. - Create a form with a label and input for the date of birth and a button to calculate the age.
- Add a
divto display the result.
CSS (style.css)
- Style the container to center the content and set a max-width.
- Style the form elements (label, input, button) for a clean appearance.
- Style the result display to make it stand out.
JavaScript (src.js)
- Select the necessary DOM elements (input, button, result container).
- Add an event listener to the button to trigger the age calculation.
- Define a function to calculate the age based on the input date and the current date.
- Update the result container with the calculated age.
Submitting the Project
After setting up the project on your local machine, and writing the necessary code, follow these steps to submit your project:
- Create a new folder/directory on your local machine in the
javascript-projects/age-calculatordirectory. Name ityour-name.
For example, if you are using Visual Studio Code, you can create a new folder by clicking on the
New Foldericon in theExplorersidebar and naming itage-calculator.You folder structure should look like this:
javascript-projects/
│
├── age-calculator/
│   ├── your-name/
│   │   ├── index.html
│   │   ├── style.css
│   │   └── src.js
│
└── ...
- Write the necessary code for the project by following the instructions provided in the project description.
-
Once you have completed the project, push your code to the remote repository on GitHub.
3.1 Create a new branch:
git checkout -b your-branch-name3.2 Stage your changes:
git add .3.3 Commit the changes:
git commit -m "Add project files"3.4 Push the changes to the remote repository:
git push origin your-branch-name - Create a pull request on the original repository.
- Add a title and description to your pull request.
- Submit the pull request.
- Congratulations! You have successfully submitted your project.
Resources
License
This project is licensed under the MIT License - see the LICENSE file for details.